


MAKING STRETCHY BRACELETS USING ELASTIC STRING

STRETCHY BRACELET STEPS
- Cut 12–15” of elastic string for bracelet.
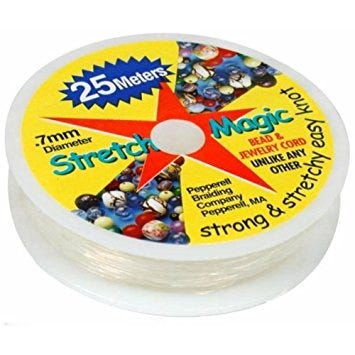
You want to use round thong elastic string. You do NOT want to use the flat, elastic floss. It shreads. The cloth covered elastic cord is not a great choice. It’s meant to be sewn into fabric, like for a waste-band, but not to be exposed as in jewelry.
2. Grab each end. Stretch it 25 times, by pulling on it firmly, but NOT with all your strength. Yes, that number is 25. Get your daily exercise in.
3. String on your beads; make sure it’s the correct size for your wrist. Avoid very heavy beads.
NOTE: If a CENTER-POINT or DROP, make this center of bracelet, opposite side of knot.
NOTE: If creating a pattern, remember that both ends of bracelet will be brought back together.
4. Tie an overhand knot and pull tight to pull your beads together.
Overhand knot: One end goes over the other, then back through the loop.
5. Tie a surgeon’s knot to secure the knot. We do this in 2 steps:
Surgeons’ knot: Similar to overhand knot, but you go over the other side twice. So, one end goes over the other, then over the other again, and then back through the loop. This prevents you from tying a knot which will slip.
a. As you are pulling the knot together, you want to put a drop of glue on the inside of the knot (any glue except superglue).
b. Pull the knot tight. Put another drop of glue on the outside of the knot (any glue except superglue). In 10 minutes, wipe off excess glue. Allow the glue to dry (about 20 minutes).
6. Now you want to finish the piece off.
a. If you can thread one of the tails through the bead next to the knot, do so. Pull the tail through.
Put a drop of glue (any glue except superglue) on the knot. Use the tail to pull the knot into the hole of the bead next to it, and let it dry inside the hole (about 20 minutes). In 10 minutes, wipe off excess glue. After it dries, trim the tails.
b. If you cannot thread one of the tails through the bead next to the knot, but you can pull the knot into that hole, follow these steps. Put a drop of glue (any glue except superglue) on the knot.
Use the elastic string between two beads on your bracelet to pull the knot into the hole. Let it dry inside the hole (about 20 minutes). In 10 minutes, wipe off excess glue. After it dries, trim the tails.
c. If you cannot even get the knot into the hole of the bead next to it, then put a drop of glue on the knot (any glue except superglue), let it dry 20 minutes, then, after it dries, cut both tails close to but not all the way to the knot. If you don’t like the look of the knot, put a drop of glue on the knot, and then you can slide a crimp cover over it. In 10 minutes, wipe off excess glue.
Other Articles of Interest by Warren Feld:
Mini Lesson: Making Stretchy Bracelets
Mini Lesson: Making Adjustable Slip Knots With Thicker Cords
Mini Lesson: Attaching End Caps, Cones, Crimp Ends
Mini Lesson: Flat Even Count Peyote
Mini Lesson: Right Angle Weave
I hope you found this article useful. Be sure to click the CLAP HANDS icon at the bottom of this article.
Also, check out my website (www.warrenfeldjewelry.com).
Subscribe to my Learn To Bead blog (https://blog.landofodds.com).
Visit Land of Odds online (https://www.landofodds.com)for all your jewelry making supplies.
Enroll in my jewelry design and business of craft video tutorials online.
Add your name to my email list.
