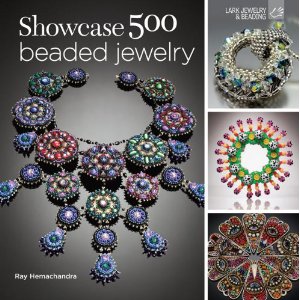
WHEN IS ENOUGH ENOUGH?
Beading and jewelry making can be so much fun, and you have so many choices of so many beautiful pieces to play with, that sometimes, from a design sense, it’s easy to go overboard.
Too many strands. Too many different kinds of beads. Too many colors. Too much embellishment. Too much fringe. Too much repetition of themes and design elements.
There is a tendency too often to over-do.
How do you answer this question for yourself – when is enough enough?
Do you tend to over-do (or under-do) your pieces?
How do you edit? Do you make a piece, and get the judgment of others? Is this based on some kind of intuition?
How do you work with students or friends who have difficulty answering this question?
Let me know what you think.
Warren
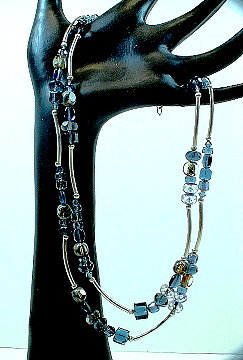
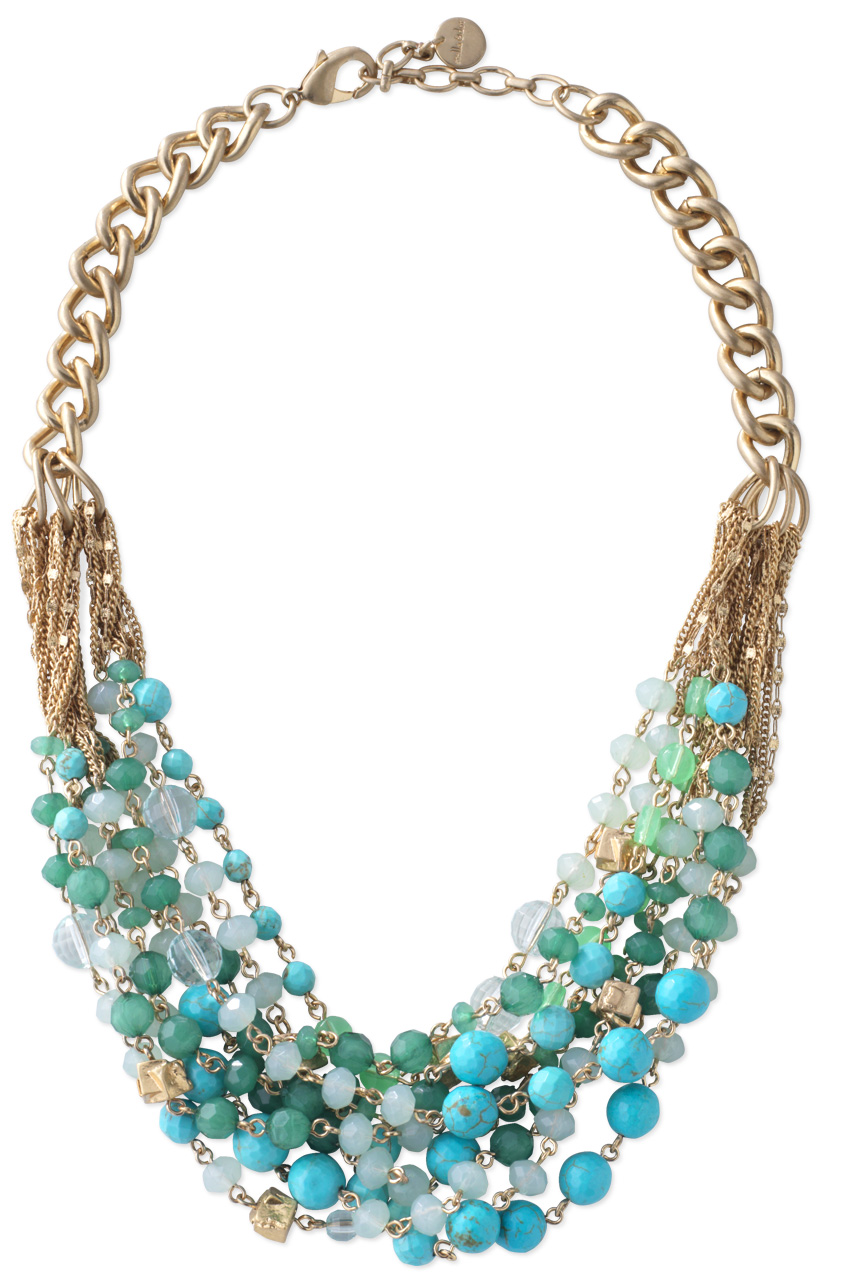
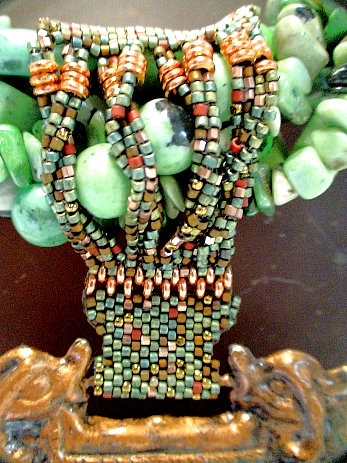
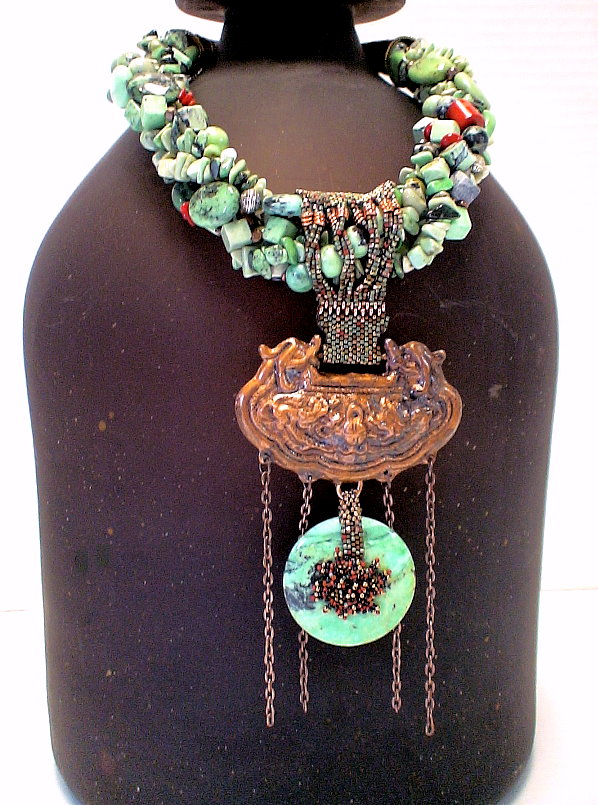
Could this be better or worse? or more satisfying or less satisfying?
With more strands?
If longer?
More colors?
More involved patterning?
From an article I’ve posted online…
I had discussed in an article – 10 Principles of Jewelry Design Composition (http://www.landofodds.com/store/goodjewelrydesign.htm) – what is in effect a type of grammar and vocabulary for good jewelry design. The last principle was called Parsimony. And this one is really difficult to achieve. The jewelry artist who is good at Parsimony has a great deal of control over the design process.
Parsimony means that there should be no nonessential elements.
The designer should achieve the maximal effect with the least effort or excess.
Many jewelry designers, when they like a particular bead, or a particular design, often over-do their pieces. The thinking here is that, if they have a beautiful part, adding many of these parts will make the whole even more beautiful. Often, it results in the finished product that is boring or uninteresting. The finished product loses a type of tension, power and energy.
The artist has made a good point with their choices, but then beats a dead horse to death by trying to make the point over and over again, too many times.
Good Parsimony shows that the designer has a good sense of the relationship of the parts to the whole.
There should be no nonessential elements.
The designer should achieve the maximal effect with the least effort or excess.
There is a tendency of beaders and jewelry makers to over-do:
– over-embellish the surface
– add too much fringe
– repeat themes and design elements too often
– use too many colors
More often than not, people over-do, rather than under-do.